Desktop Embedding
A useful feature of VIOSO is to apply the calibration to the Windows desktop. This allows any program to be run in Windows and displayed on the calibrated screen.
Popular programs run in this mode are for example: Fullscreen custom apps (games, web apps in browser), Media player, CAD programs, Resolume, Powerpoint etc…
How to use desktop hooking in project mode
Section titled “How to use desktop hooking in project mode”1. Configure your system
Section titled “1. Configure your system”Setup EDIDs and Nvidia Mosaic (article)
2. Create a New Project in VIOSO
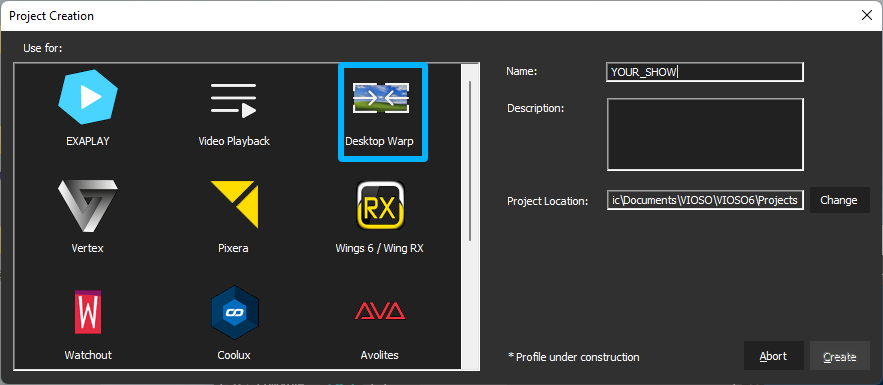
Section titled “2. Create a New Project in VIOSO”Create a new project with the preset: Desktop Warp:
3. Setup the project design nodes
Section titled “3. Setup the project design nodes”You can setup the different nodes for the project: projectors, surface type, camera..etc
Make sure that the computer node shows a proper splitted Mosaic group. The split should be detected automatically by VIOSO - if not, this might indicate that something isn’t properly set up and therefore will lead to issues.
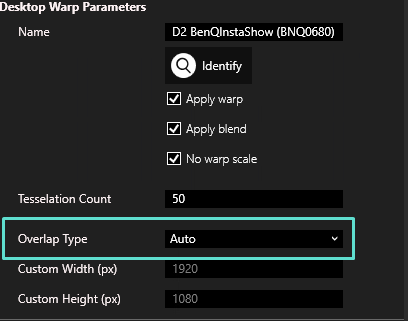
In this preset, there are extra main options to customize:
| Option | Method | Parameters | Screenshot |
|---|---|---|---|
| Overlap type | Select the server node. Find the “Desktop Warp Parameters” section. |
|  |
| Activate parameter | Click on the node from the layout to expand its parameters |
|  |
Below is an example of a project configuration consisting of 2x projectors combined horizontally in one Nvidia Mosaic.
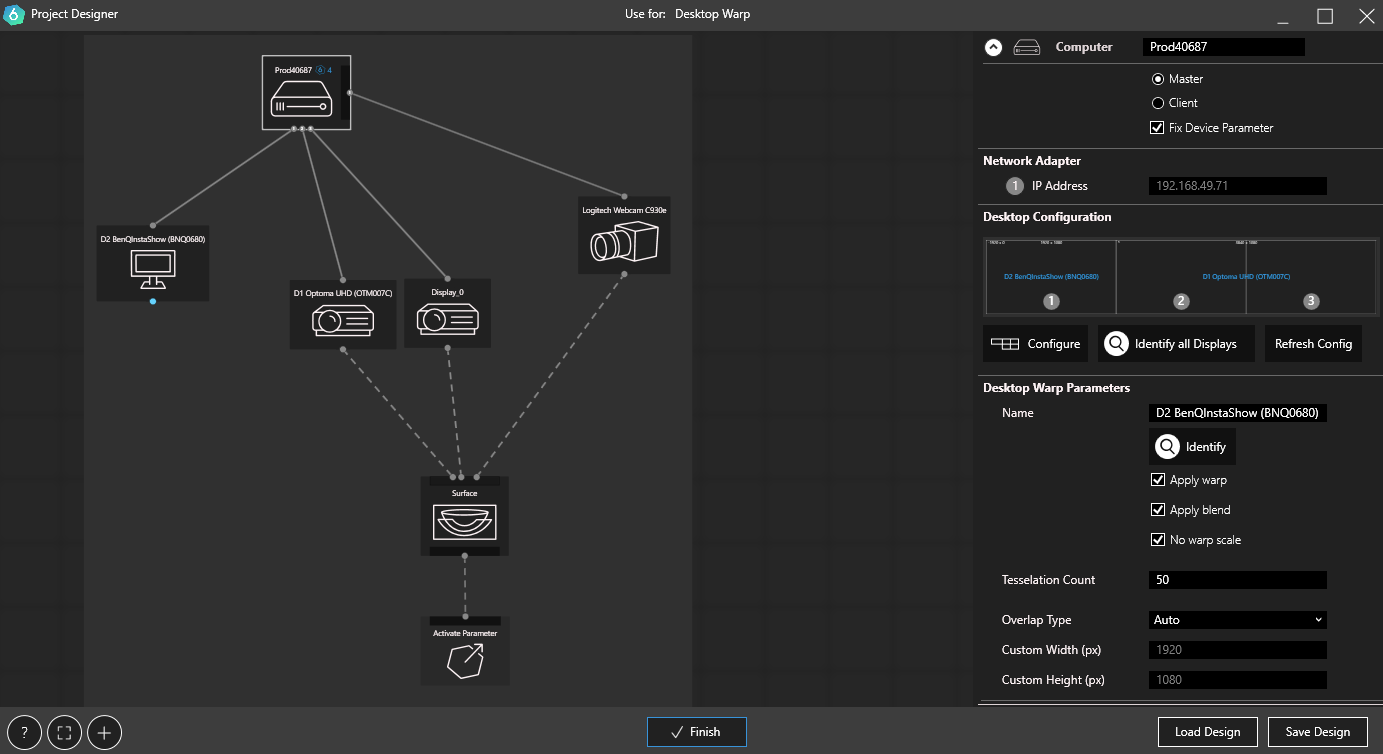
Example: Project Design for 2x projectors with Nvidia mosaic
4. Calibration
Section titled “4. Calibration ”- After you finish the design step, perform the calibration as usual: Guide on the scanning steps
5. Activate
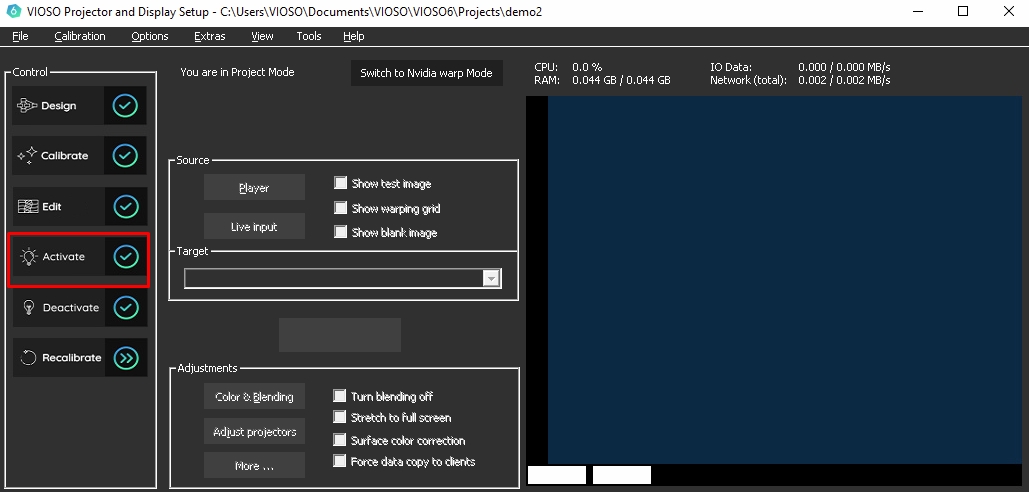
Section titled “5. Activate ”- Finally, when the calibration is finished you will unlock the button “Activate” which applies the warping and blending to the GPU.